Getting Started
In this exercise you'll sign up for a developer account at auth0.com to follow along with the exercises. Once you have an account, you'll be able to create applications and configure your OAuth server to follow along with the assignments.
Please visit auth0.com and sign up for an account.
Create an API Resource
First we need to create an API resource which represents an API that you would protect with Auth0 access tokens. Navigate to the sidebar Applications menu, and choose APIs. Click Create API to make a new API.
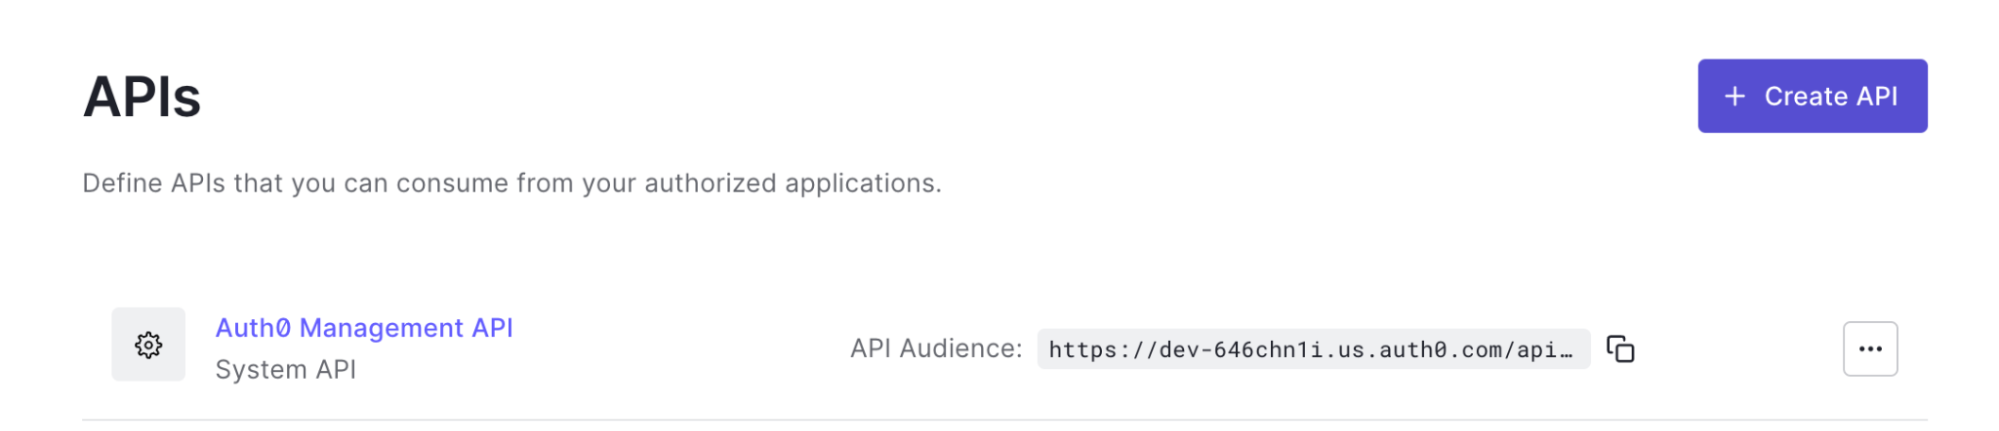
Give your new API a name, and choose an identifier. The identifier will be the value of the "audience" claim in the access tokens Auth0 creates, and it’s usually a good idea to use a URL that represents your API.

Set the Default Audience
Because the eventual goal is to use these access tokens with your own API, you’ll need to either set a default audience on your Auth0 tenant, or specify the audience in each authorization request. If you wanted to segment your account into multiple API resources, you would have each OAuth client specify the audience for each request. But for the purposes of this exercise, we’ll assume you have only one API resource, and set the default audience on the account.
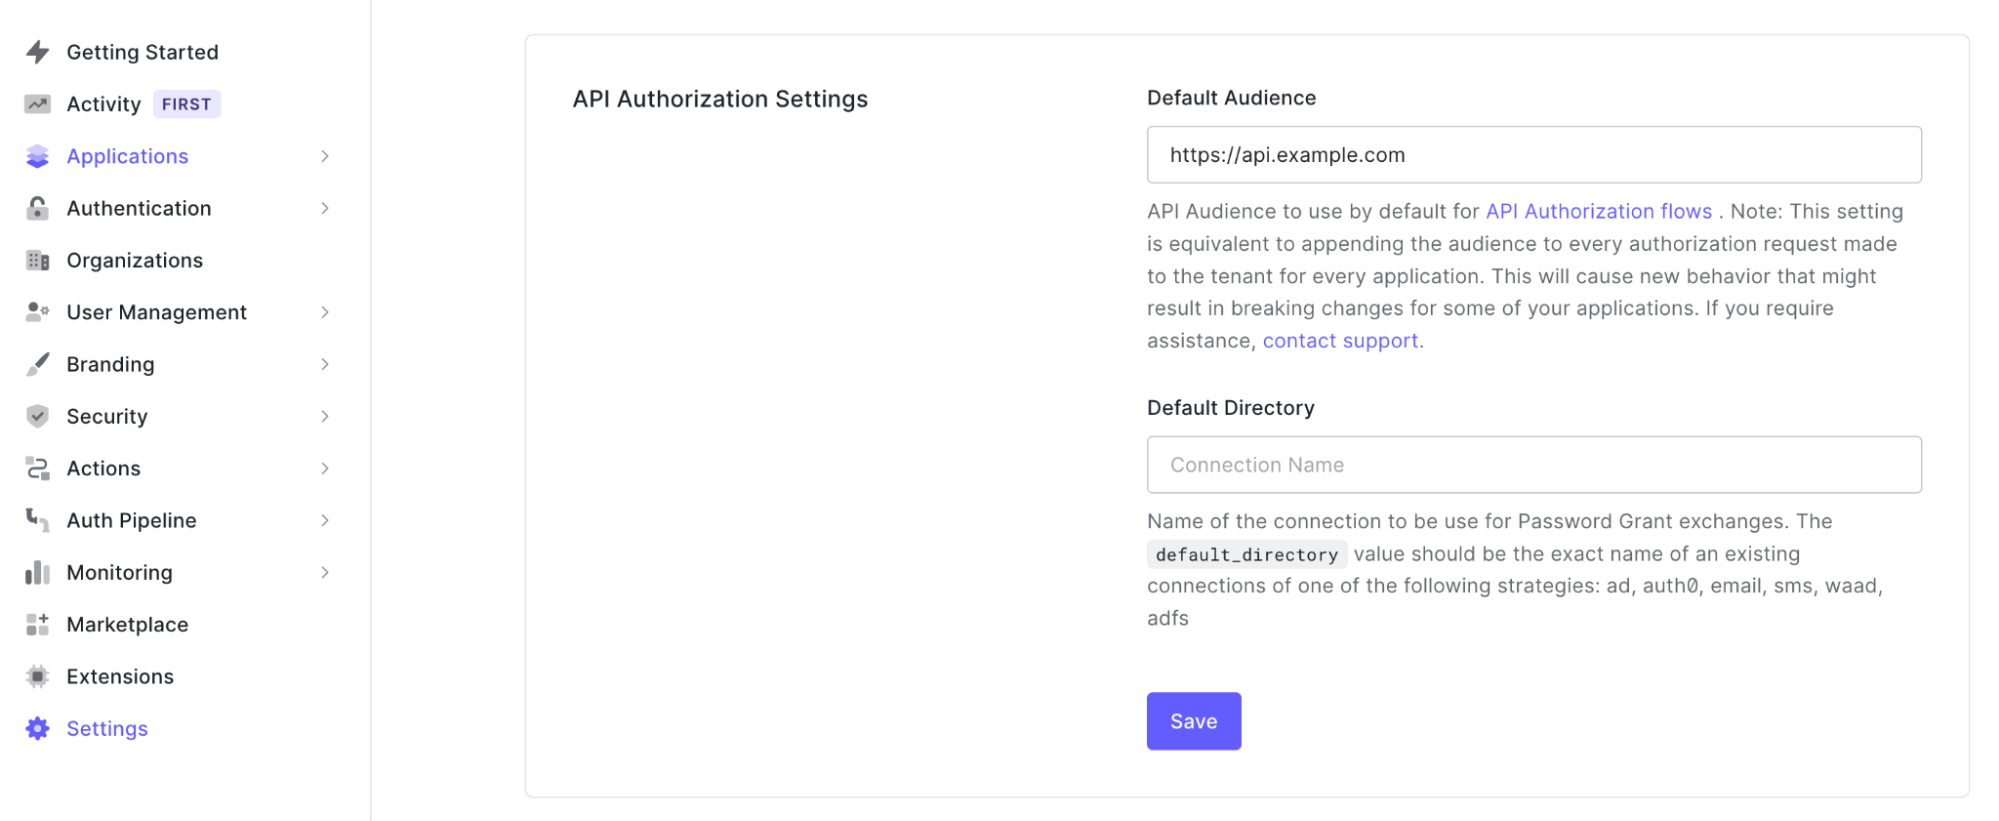
From the sidebar, choose Settings and scroll down to API Authorization Settings. In the Default Audience field, enter the same API identifier you set for your API Resource earlier in this exercise.
Find the Issuer URI
The Issuer URI is the identifier of the authorization server. This will be used throughout the exercises and is used by this tool to check your work.
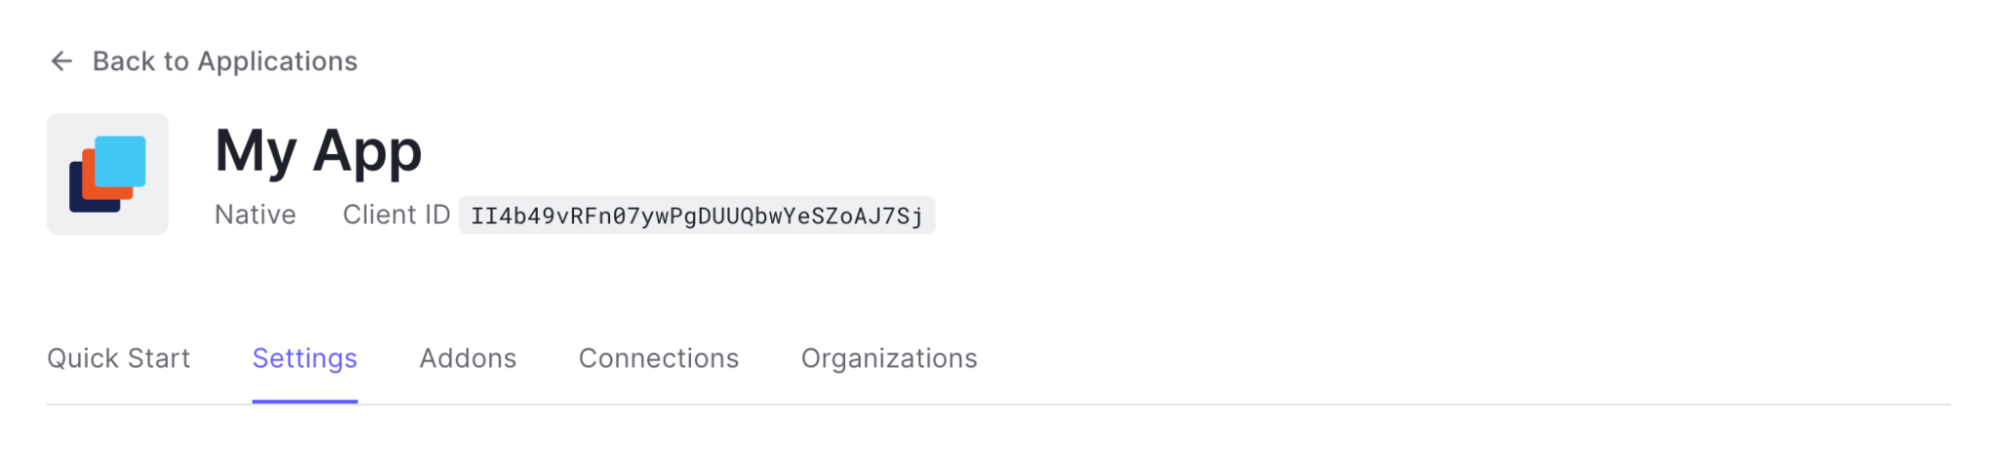
Navigate to Applications then click Applications again in the side menu. This is where you’ll be creating applications throughout these exercises. For now, you only need to find the OAuth server’s Issuer URI for your account. Auth0 doesn’t show you the issuer URI directly, but you can determine what it is from the OpenID Configuration URI it shows in an application’s advanced settings.
Create a new application, it doesn’t matter what type it is or what it’s called for now.

After the application is created, click on the Settings tab.
Then scroll all the way down and expand the "Advanced Settings" section, and click on the "Endpoints" tab.

All the URLs shown are based on the Issuer URI. You can open the OpenID Configuration URL in your browser and the Issuer URI will be displayed at the top.

Copy the Issuer URI, the identifier of your OAuth server, and paste it into the box below.