Authorization Code Flow for Single-Page Apps
The goal of this exercise is to get an access token using the authorization code flow and PKCE as a public client. This exercise will walk you through the flow manually without writing any code. You are of course free to write code to do this instead if you’d like, but the instructions here will show you the step by step process of what’s happening under the hood.
From the side menu of your Auth0 dashboard, click on Applications and choose Applications.
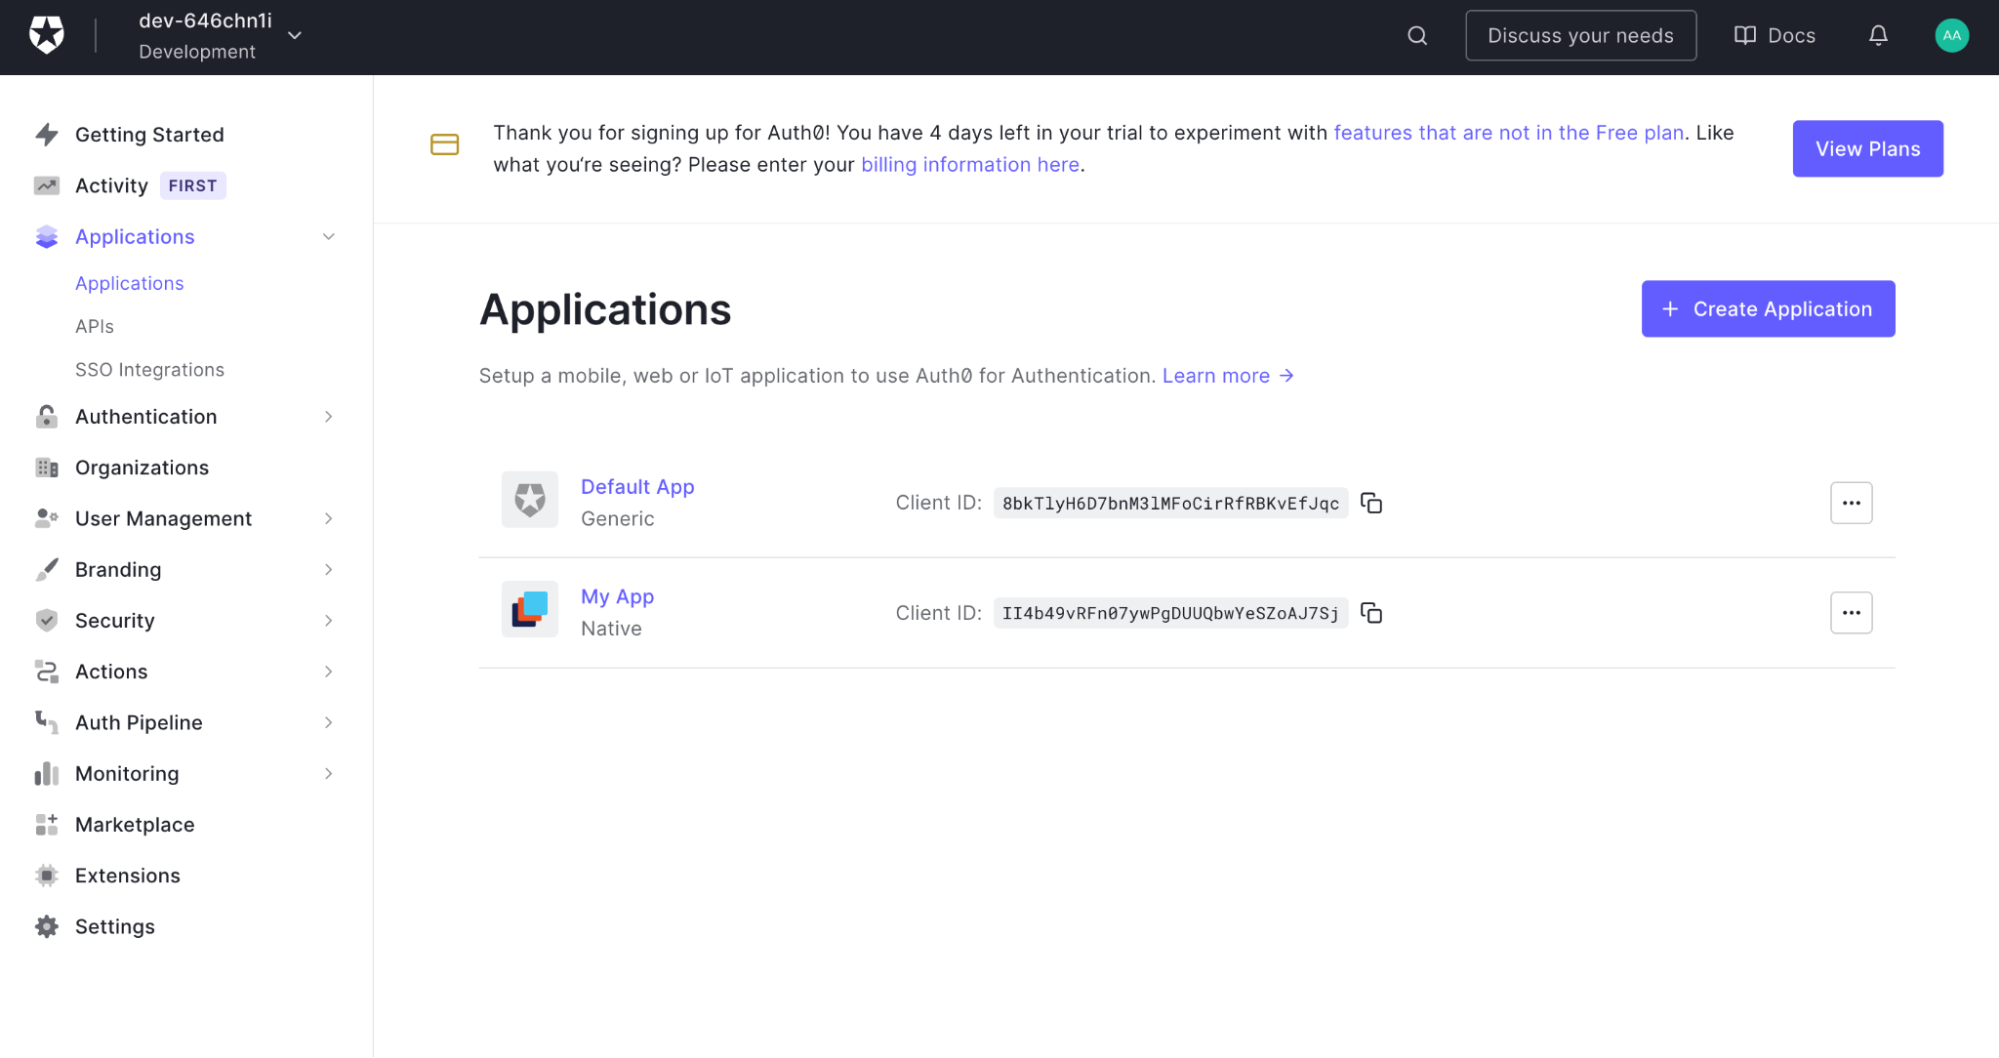
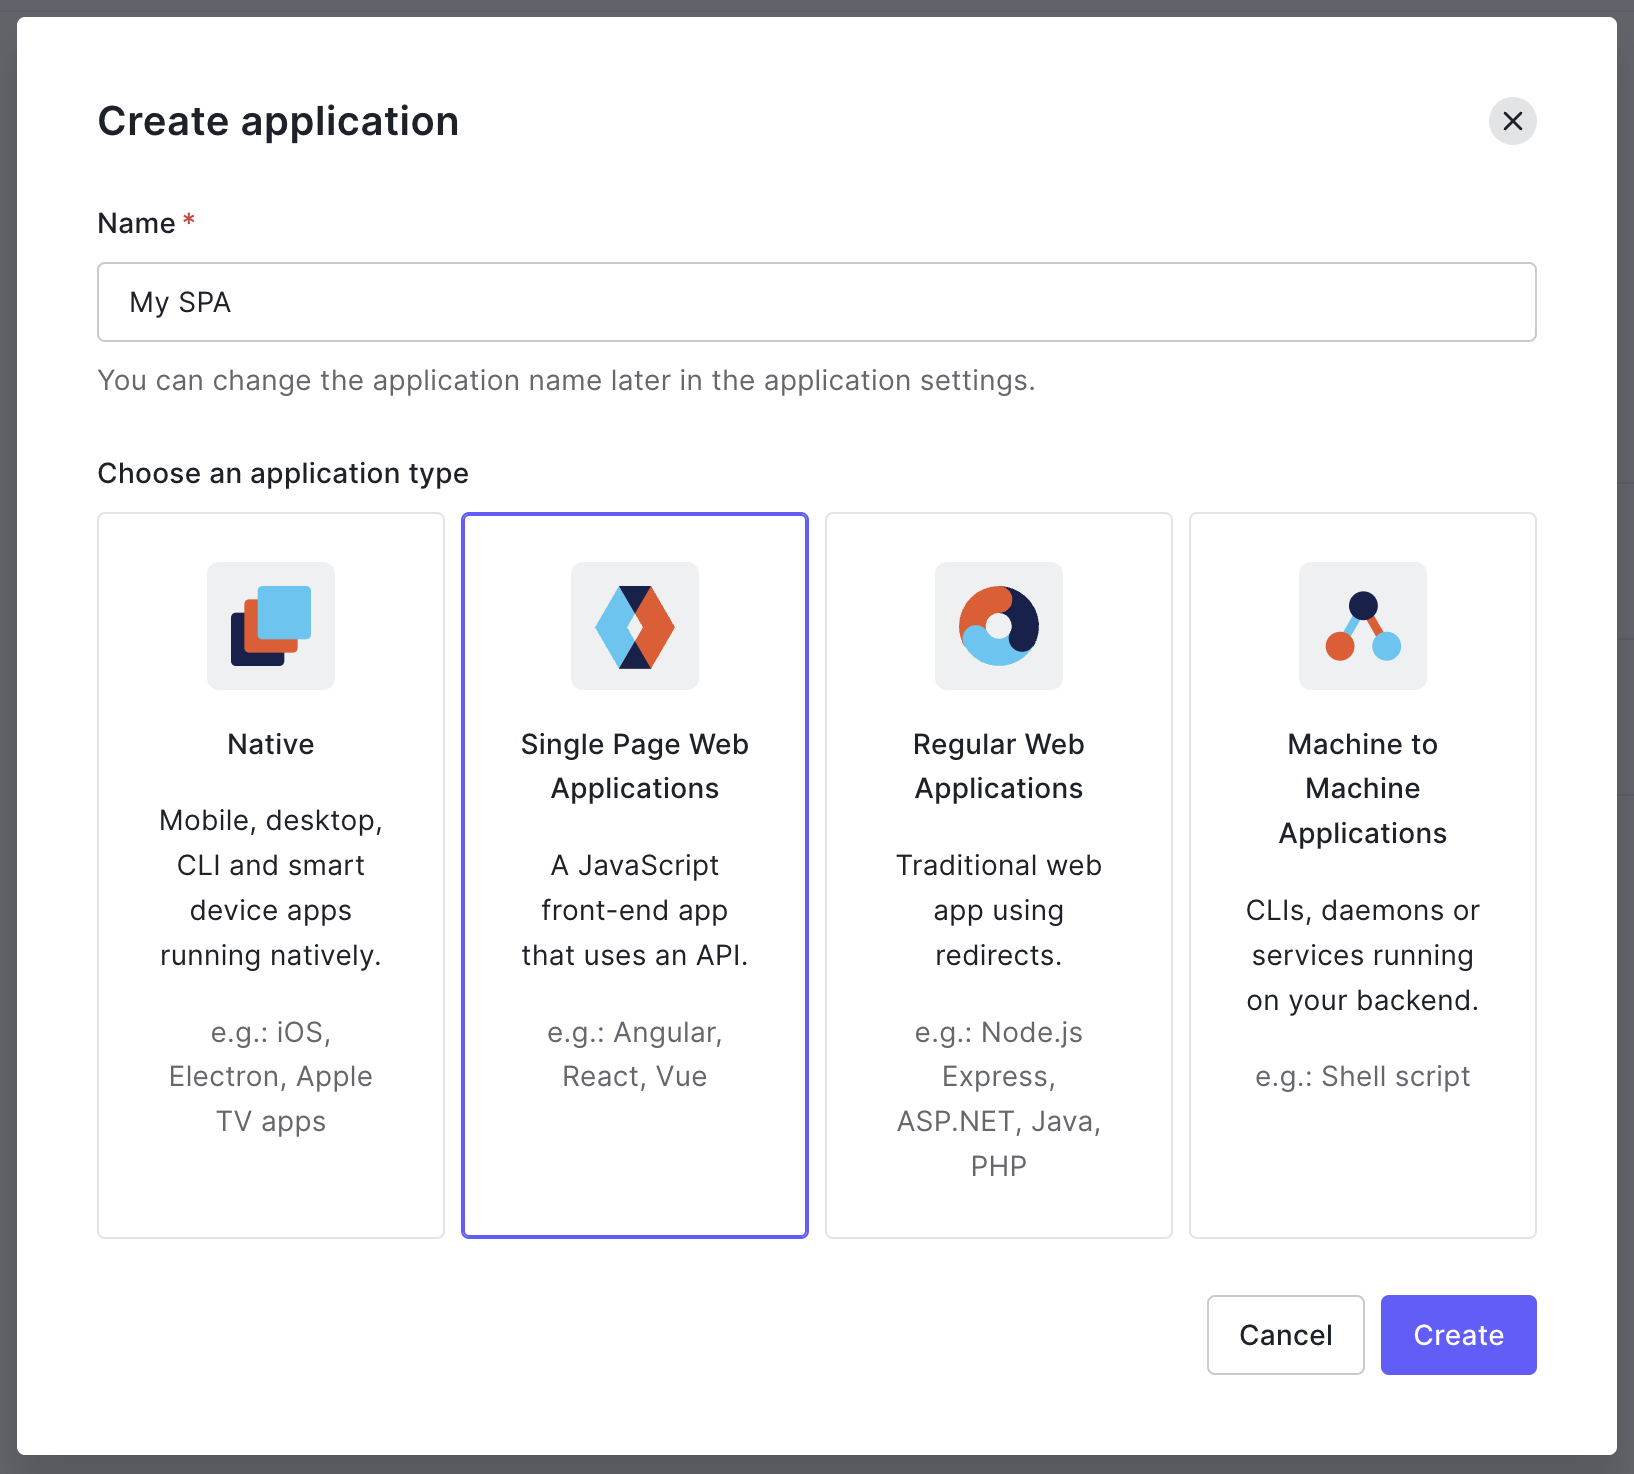
Click Create App Integration, then in the popup dialog, give it a name and choose Single Page Web Applications as the application type.
After creating the app, click Settings so that we can add a Sign-in redirect URL. This is where the OAuth server will send the user back to after they log in. For this exercise, we’ll use a placeholder URL that will help us out.
Under Allowed Callback URLs, add https://example-app.com/redirect as the redirect URI for your application.
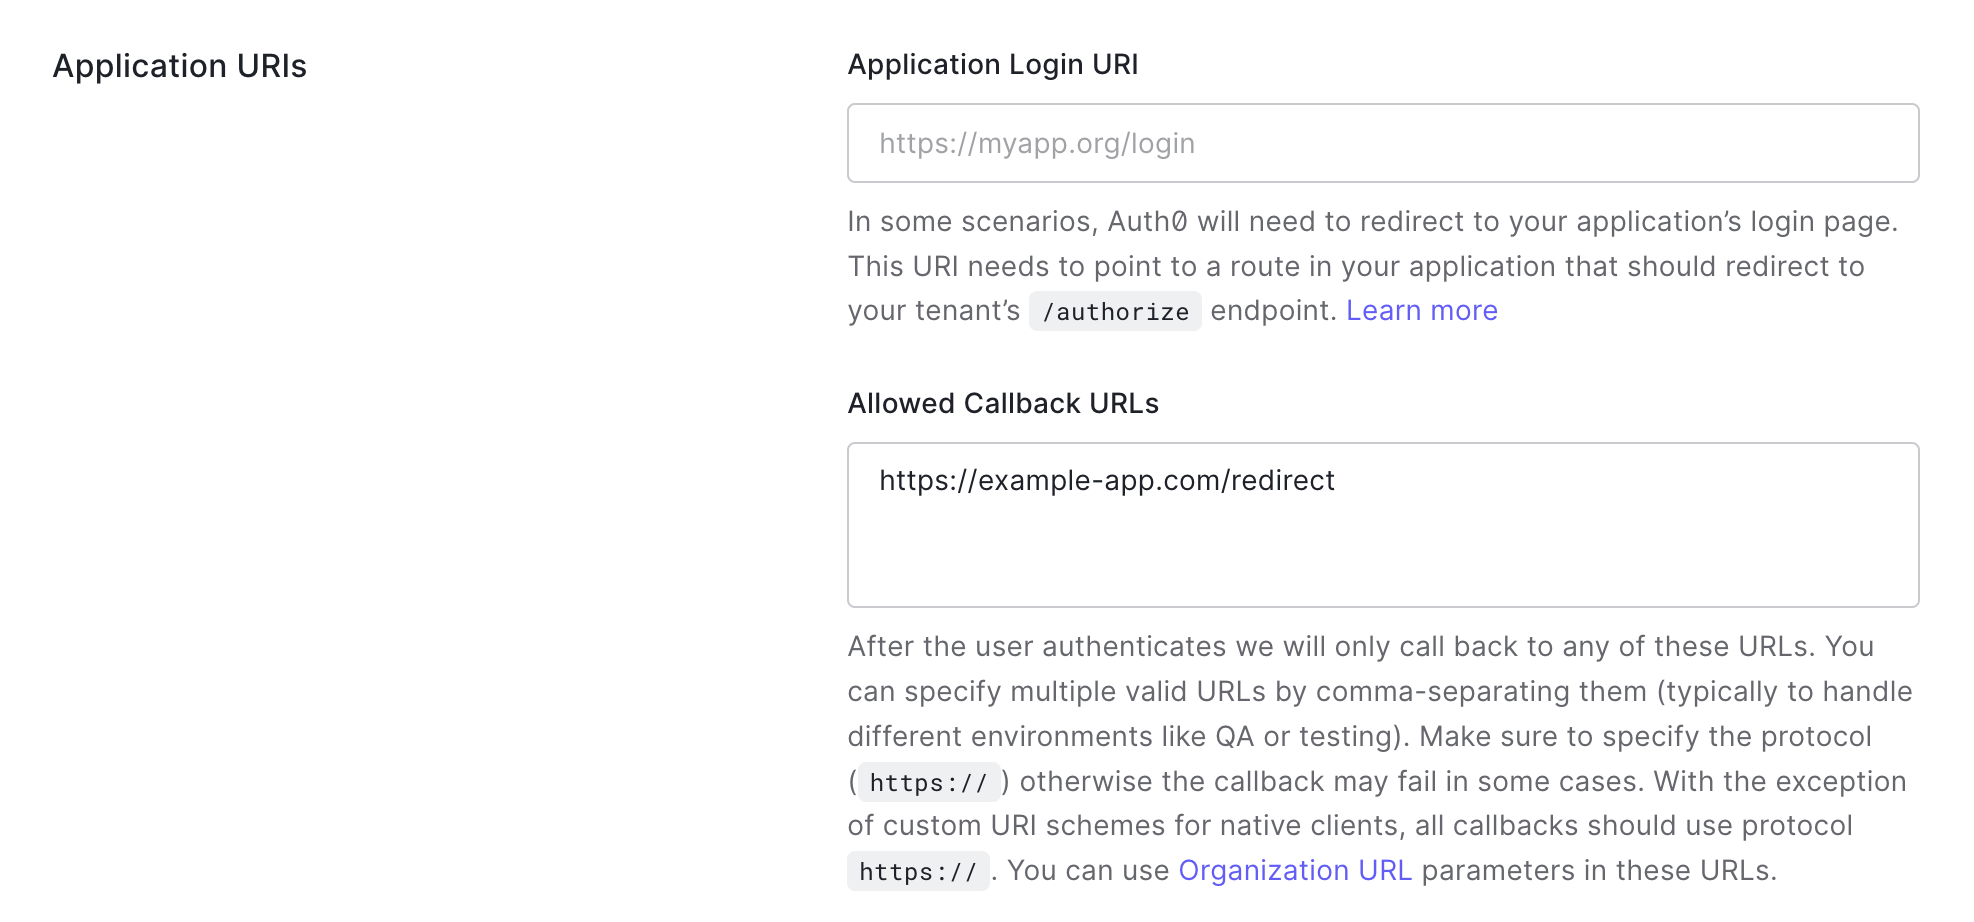
You can leave all the other values empty or with their default values. Scroll to the bottom and click Save Changes.
Back at the top of the Settings screen you’ll see the application’s client ID needed to complete the OAuth flow.

With your client ID in hand, you’re ready to start the flow! To do that, you’ll need to use the authorization server’s authorization endpoint that you found in the Getting Started exercise. Look up the URL from your notes or copy it from the Introduction exercise.
Before you can create the complete authorization URL, you need to create the PKCE Code Verifier. Generate a random string between 43-128 characters long. You can do this on your own, or use the button below to generate one.
Save the Code Verifier and keep it secret, you won’t need that until the end.
Next, you need to create the Code Challenge, which is the Base64-URL-encoded SHA256 hash of the random string you generated. You can write code to do this yourself, or you can paste your random string into the field above, and click the Calculate Hash button below.
You are ready to build the URL to send the user to go log in. You’ll start with the authorization endpoint, and add the appropriate query string parameters describing your request.
Fill in the placeholder values with your own values. (Make sure to replace the curly brackets, those are just to indicate placeholder values.)